

These lessons in organizing toy spaces come from our Blog Ambassador Tiffany of Peanut Blossom.
Moving into a new home is stressful and overwhelming. Whether you’re upgrading or downsizing, room layout and size differences can really wreck havoc on your prior organization systems!
While some people can get themselves unpacked and ready within a week or two, I discovered our family needed “Get to know you time” with our new home after a cross-country move last fall.
During the newlywed phase of the house, I had all kinds of grand plans about how we were going to use new-to-us spaces:
- The formal dining room would be a playroom for the girls.
- The dining table would be put into the eat-in portion of our kitchen.
The reality?
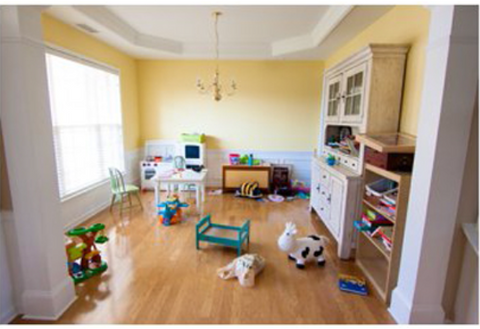
- The formal dining room was always messy from toys, and I hated how that looked to guests coming in our front door.
- The kitchen isn’t big enough to extend the table for holiday dining with extra guests.
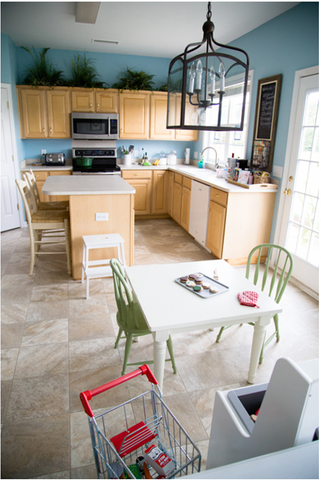
The solution: We decided to try something a little wild and crazy—we moved the play room into the kitchen!
Before & After:
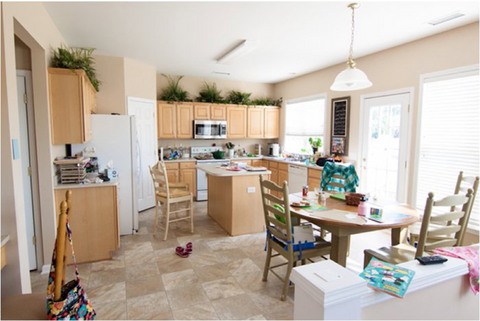
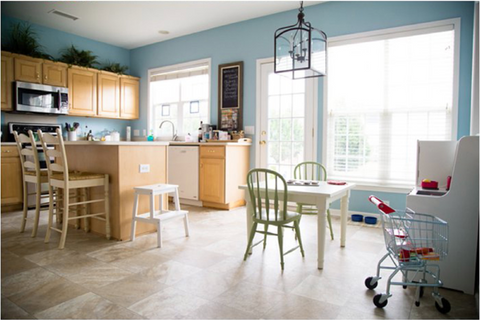
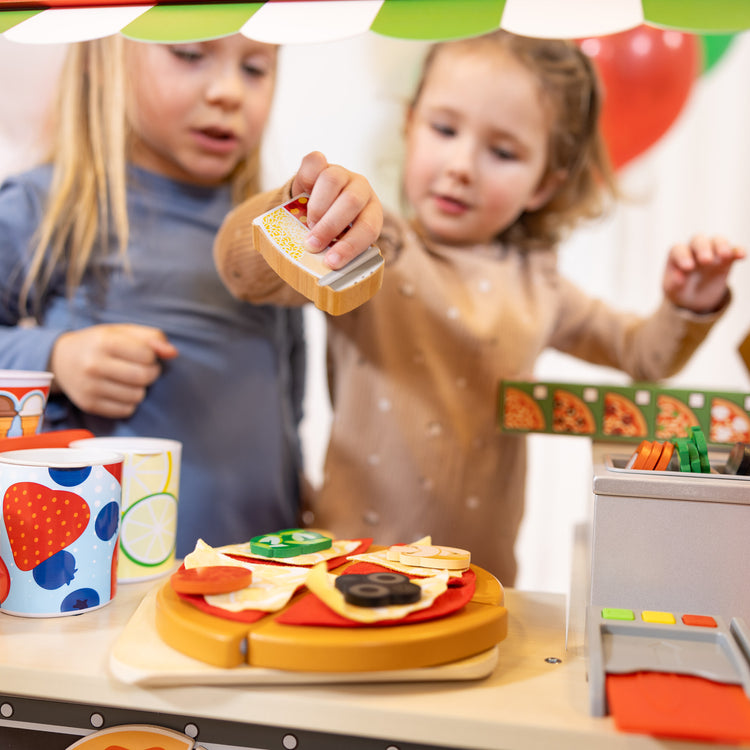
Putting our play kitchen, grocery cart, and tiny table and chairs where the dining table previously sat was the best decision ever. My girls love to play with their kitchen while I “play” with mine.
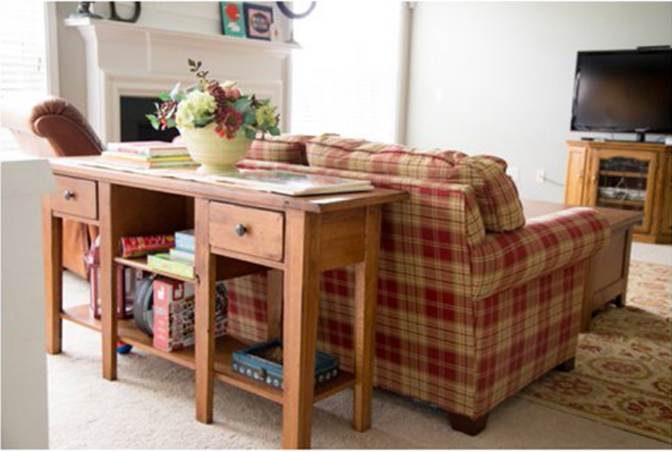
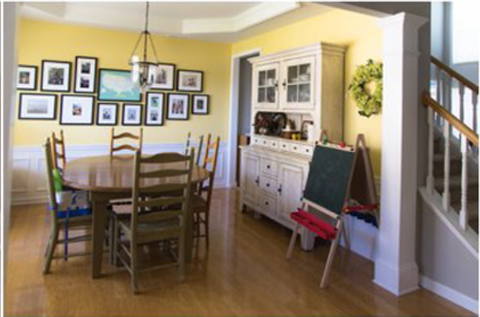
The dining room transformed from messy cluttered chaos to a neat and kid-friendly way to welcome visitors into our home:
Whether you have a move planned in your near future or not, here are the top lessons we gathered from our experience:
1. Throw room names out the window: Just because the realtor would label it “Dining Room” or “Kitchen” or “Den” does not mean you need to follow that theme. Ask yourself if the room’s job is working the way you want. What is your goal for that room? Is the furniture inside the space fulfilling that role? I would have been perfectly fine making our dining room a playroom but just didn’t enjoy not being able to see the girls while I was busy in the kitchen!
2. Cluster toys into categories and divide them: Rather than just having one single place for play, our toys are grouped and spread into smaller chunks throughout the house. All of our kitchen related toys (play food, grocery cart, kitchen and table) went into the kitchen. Games and puzzles are stored on a table shelf in the living room. Art supplies are stored on a shelf unit near the dining room where craft activities and homework are done.
3. Purge Purge Purge: I did so many full carload trips to Goodwill before our move, and it still wasn’t enough. Be sure to regularly go through your play spaces and remove/donate/toss any outgrown, unloved, or broken toys. The less you have out, the more it gets played with! Check out this great post on purging by 100 things a time! Oddly satisfying.
4. Be a courageous experimenter: My husband initially scoffed at the idea of not having a dining table in the eat-in portion of our kitchen. It took some getting used to, but now he sees how much happier my toddler has been to have a space close to me to play during the day.
Look at your house with a new set of eyes. What kind of crazy swap could you make that might change how your family feels about your spaces? If the swap doesn’t work, you could always move things back. Why not give it a try?